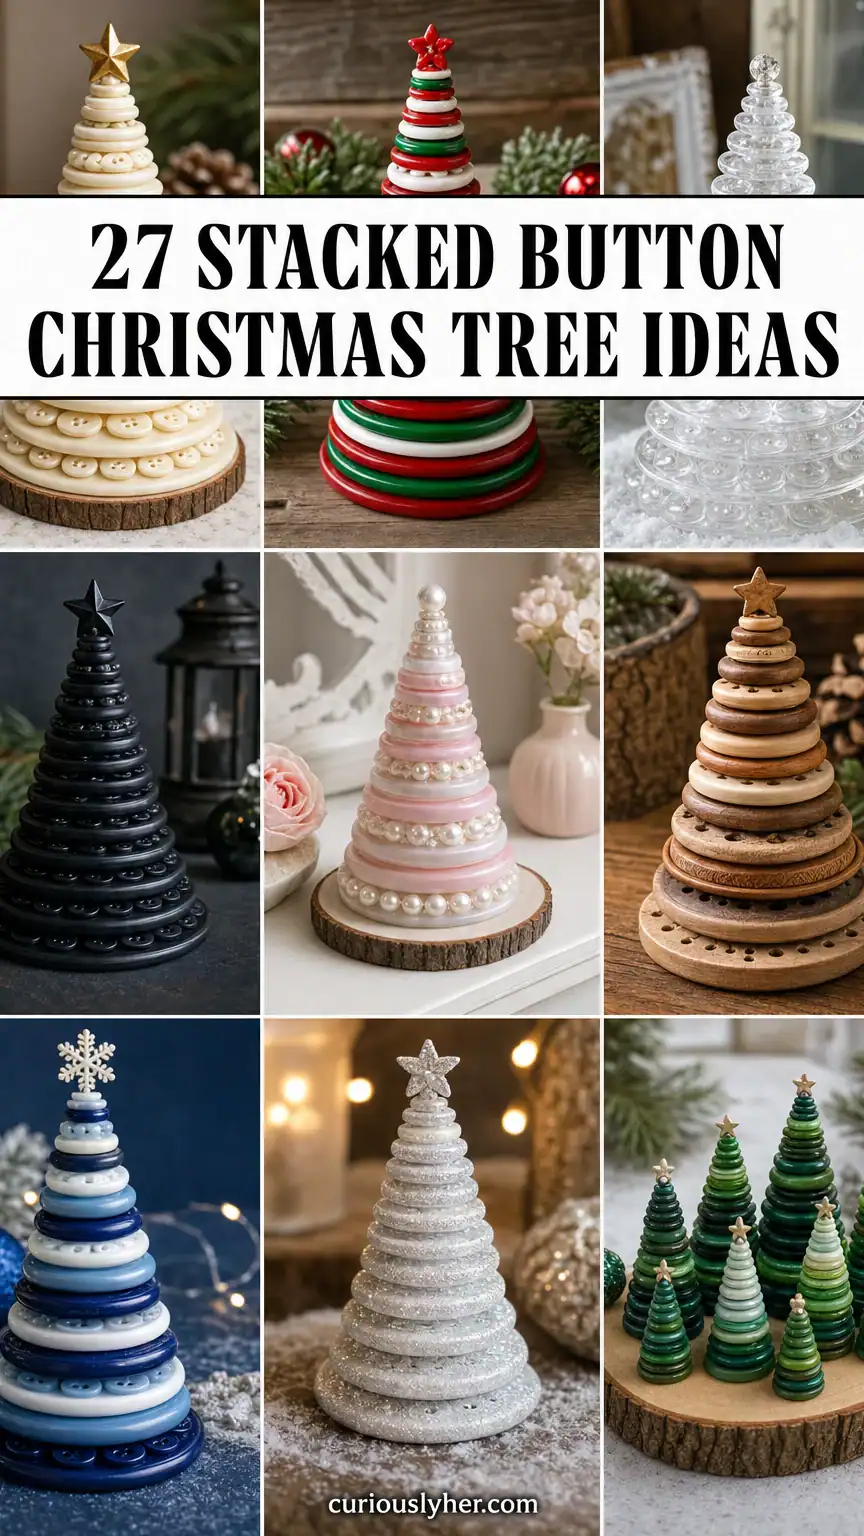
???? Disclosure: This post contains affiliate links, so we may earn a small commission if you buy, at no extra cost to you.
1. A Tree With Cream Buttons And A Tiny Gold Star Topper
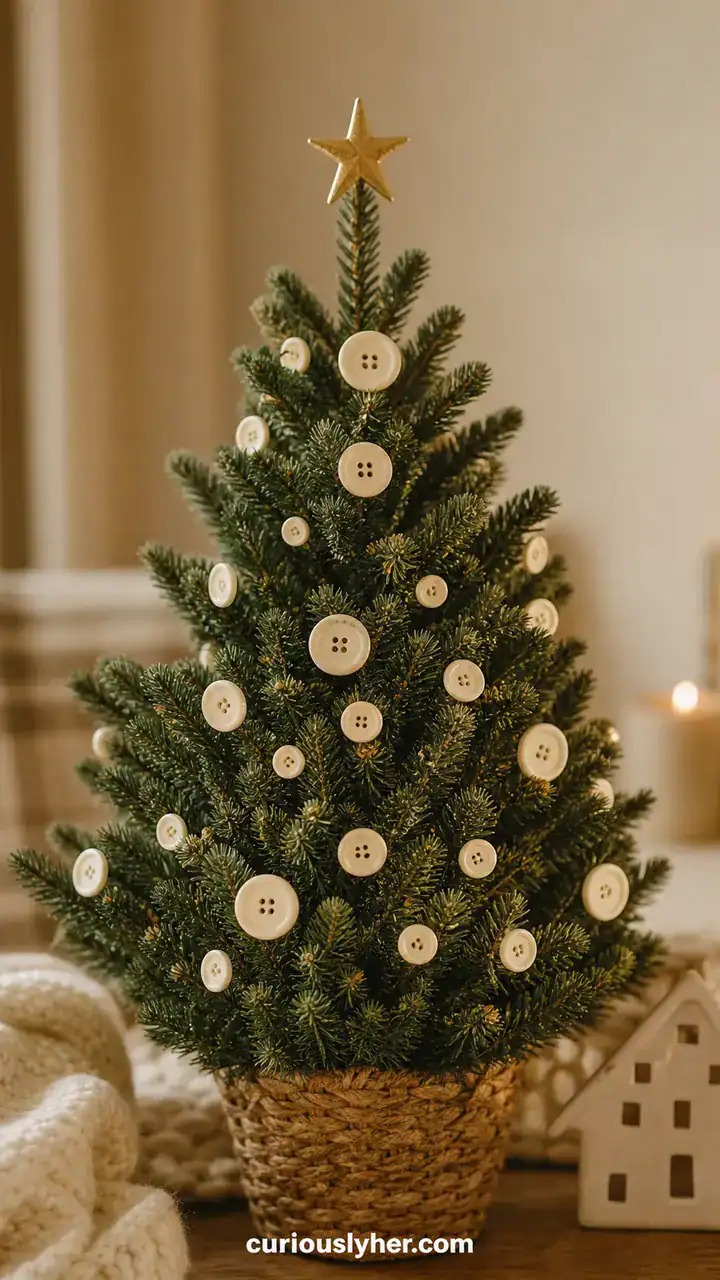
Cream buttons make the whole tree look soft and cozy, and a small gold star on top gives it that “finished” feeling fast.
Do It Like This: Stack cream buttons biggest to smallest on a skewer, then glue a tiny gold star bead on top so it stays put.
2. A Tree With Classic Red And Green Buttons In Candy-Cane Stripes
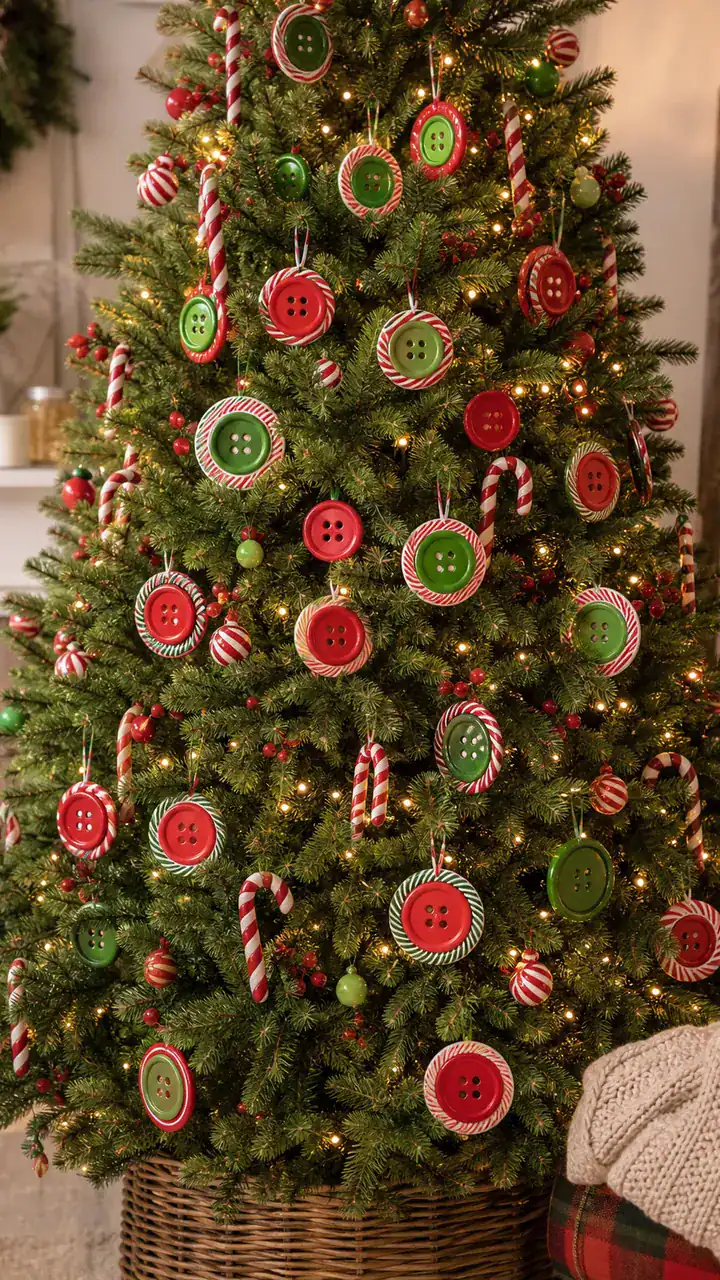
Candy-cane stripes happen when the colors repeat in a simple pattern, like red, green, red, green all the way up.
Try This Way: Lay out 12 buttons first and alternate red and green, then stack them in that same order so the stripes look planned.
3. A Tree With Frosty Clear Buttons That Look Like Little Icicles
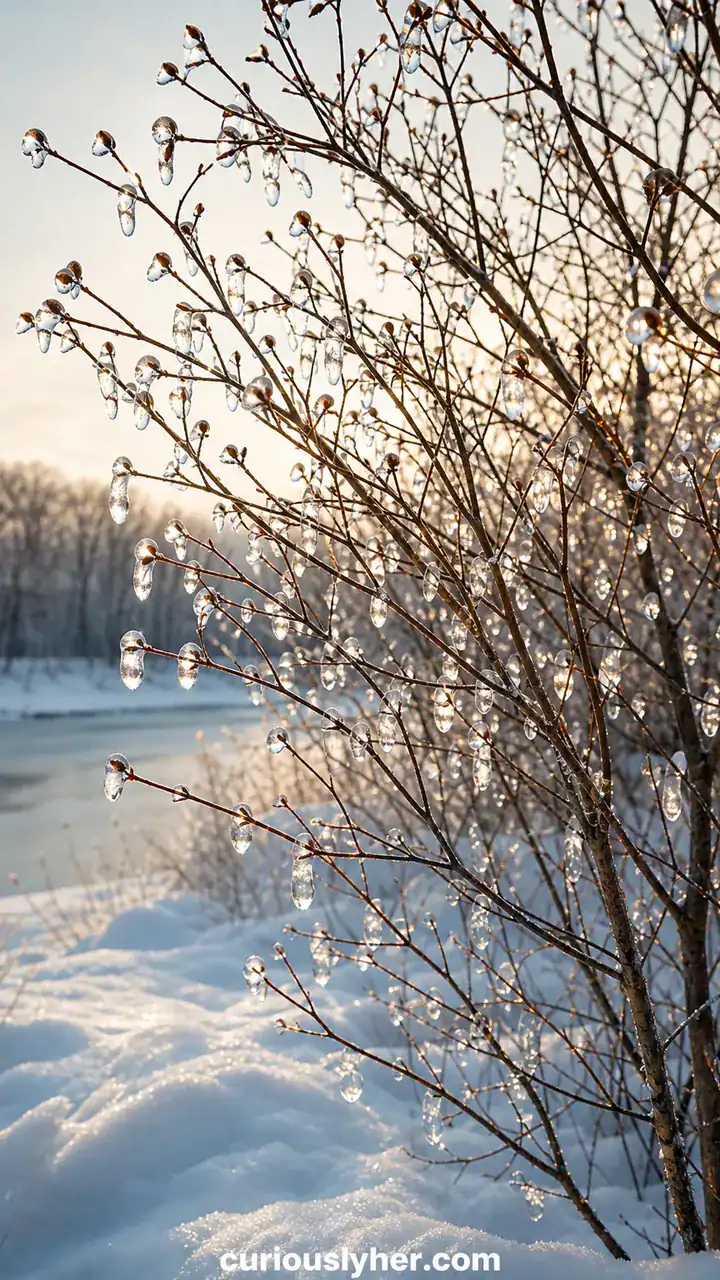
Clear buttons catch light like ice, especially when you mix 2 hole and 4 hole buttons so the shine changes a little.
Consider This: Use clear buttons with different textures, then add a drop of clear glue between every 3 buttons so the stack does not slide.
4. A Tree With Matte Black Buttons For A Modern Moody Mantel
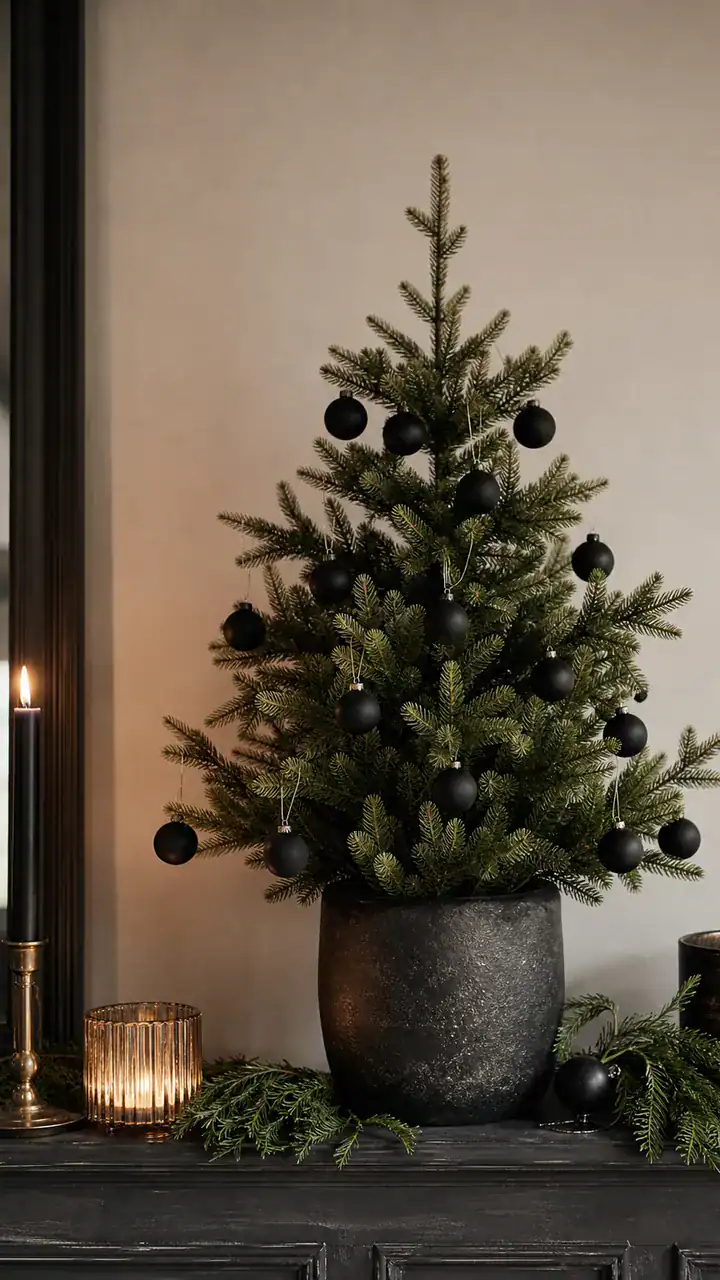
Matte black buttons look cool and modern, and the tree shape pops more if the base is a little wider than you think.
Start This Way: Pick 9 to 15 black buttons and start with the 2 biggest on the bottom, then step down in size slowly for a strong shape.
5. A Tree With Soft Blush And Pearl Buttons For A Girly Little Shelf
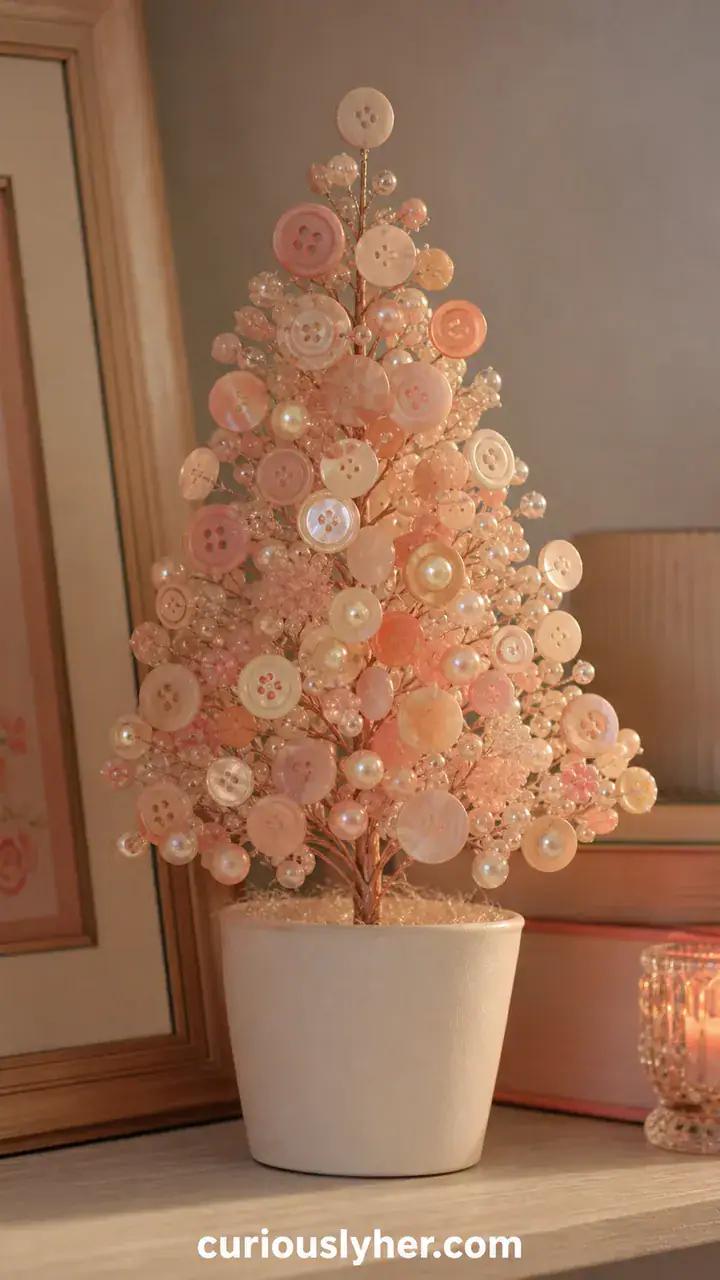
Blush plus pearl looks sweet and fancy, and it works even on a tiny shelf because the colors are calm.
Here’s What To Do: Stack blush buttons for the tree and place 3 pearl buttons at the bottom like “snow” so the whole thing looks styled.
6. A Tree With Mixed Wood Buttons For A Cozy Cabin Feel
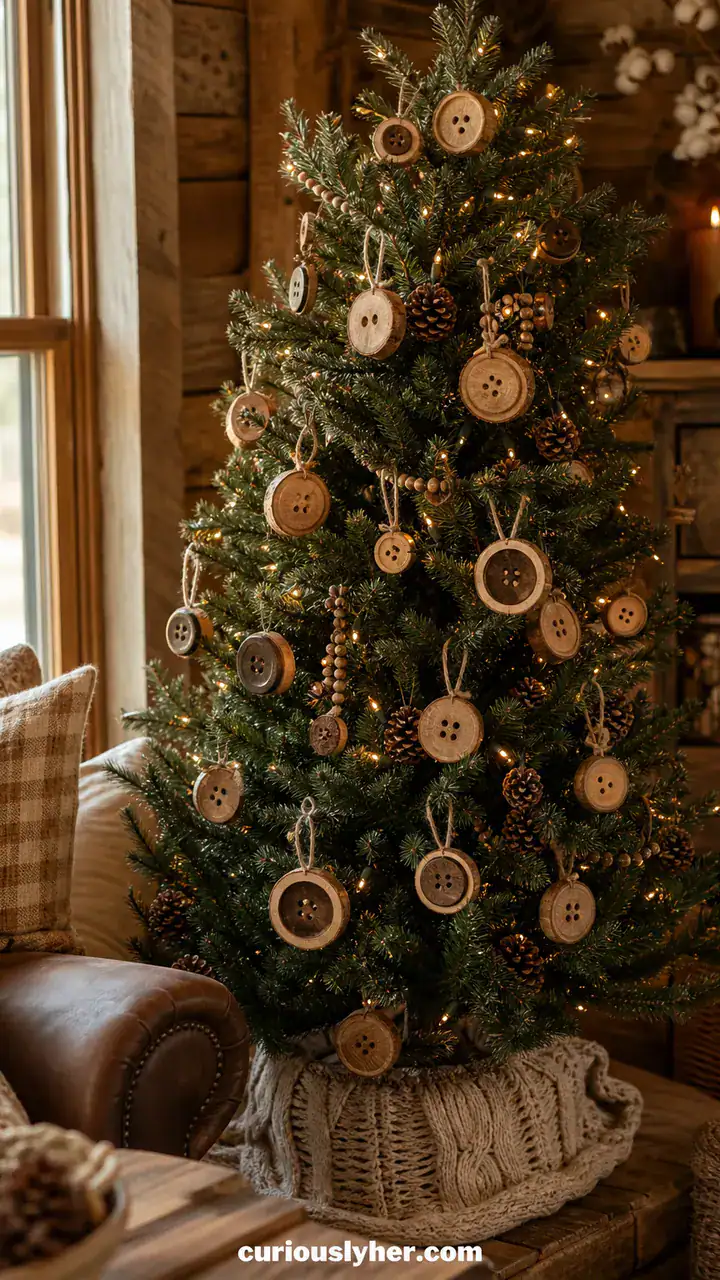
Wood buttons already have that warm cabin vibe, and mixing light and dark wood keeps it from looking flat.
Begin With This: Alternate light and dark wood buttons as you stack, then tie a little twine bow around the skewer near the bottom.
7. A Tree With Blue And White Buttons Like A Chilly Winter Night
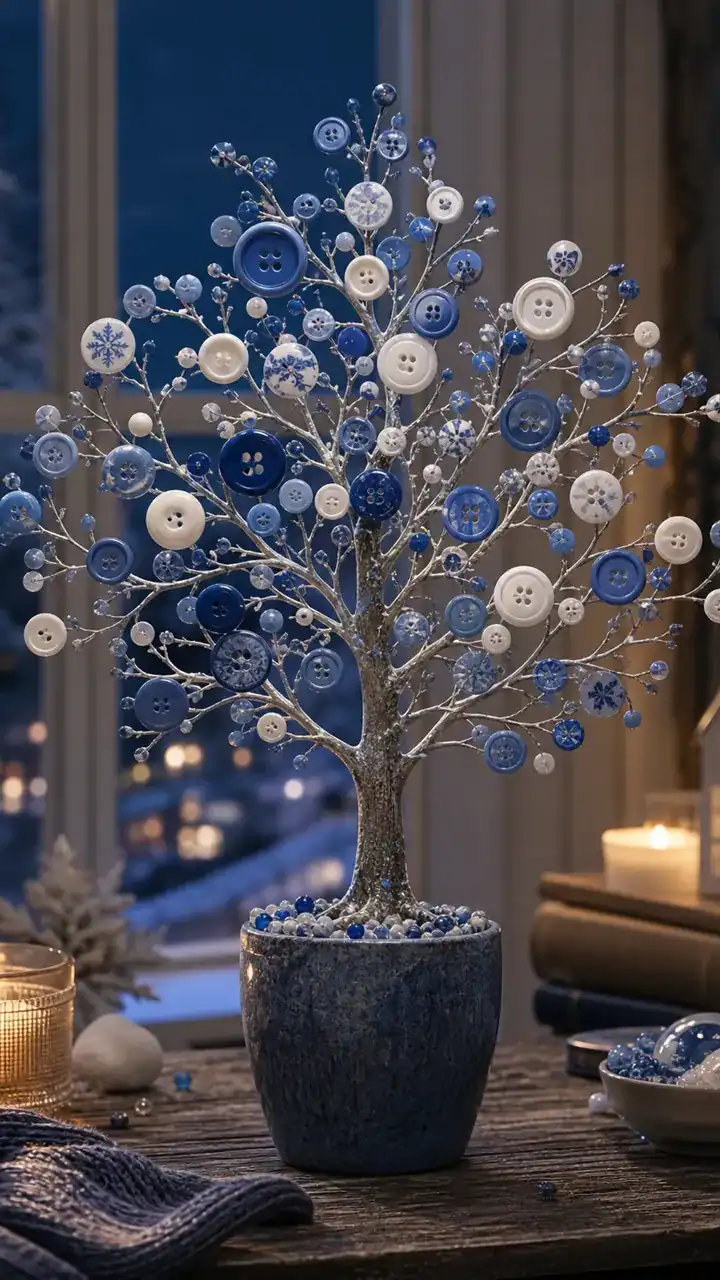
Blue and white feels like winter right away, and the secret is putting the darkest blues near the bottom like a night sky.
Use This Simple Trick: Sort buttons from dark blue to light blue to white, then stack in that order so it fades upward.
8. A Tree With Glitter Buttons That Sparkle Like Fresh Snow
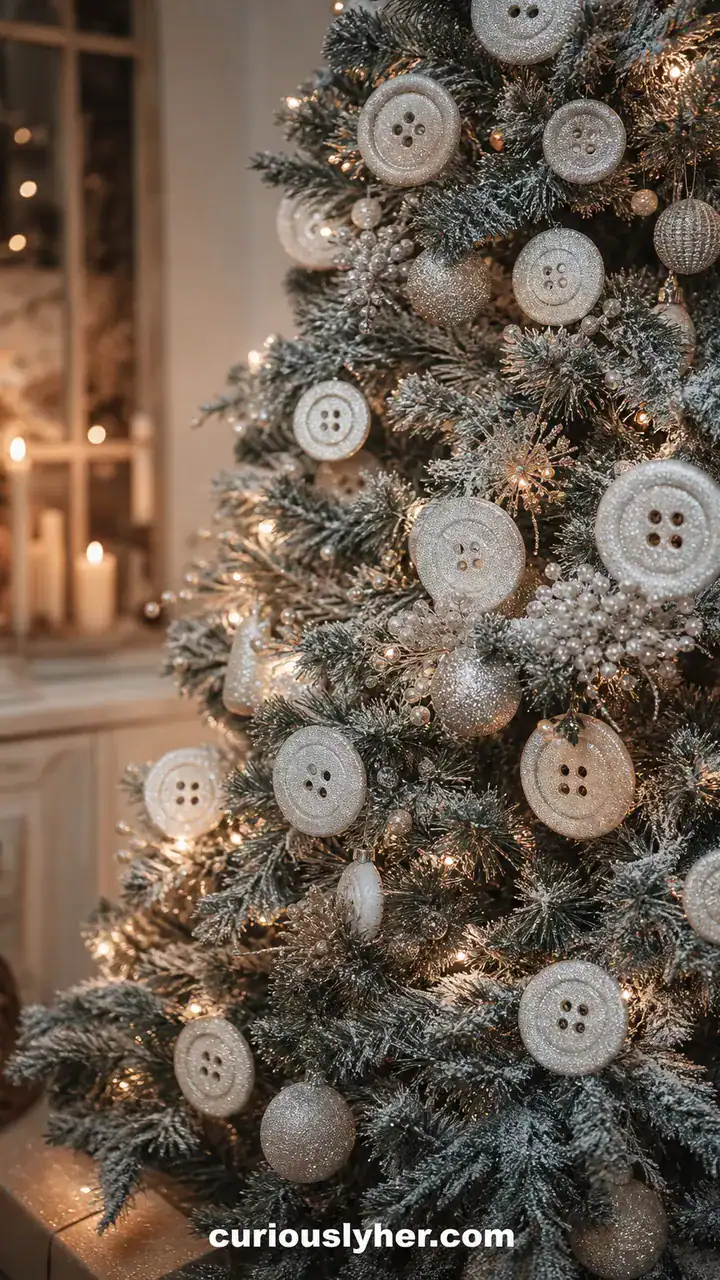
Glitter buttons look magical, but they can look messy if every button is loud, so mixing in a few plain ones helps.
Give This A Try: Use 2 glitter buttons, then one plain button, and repeat until the tree is tall enough to feel balanced.
9. A Tree With Mini Buttons That Looks Like A Tiny Tabletop Forest
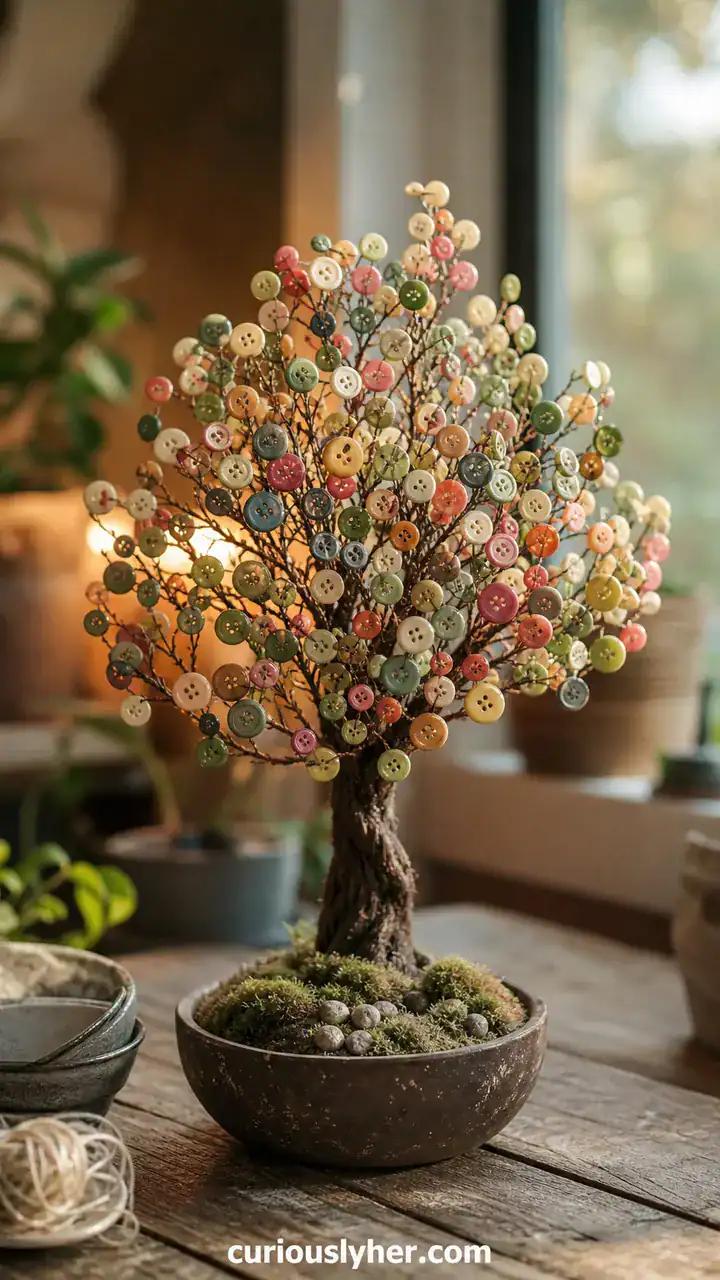
Mini buttons make the cutest tiny trees, and they look extra real when you make 3 trees in different heights.
Start Small With This: Stack one mini tree with 10 buttons, one with 8, and one with 6, then group them close together like a little forest.
10. A Tree With Oversized Buttons For A Bold Funny Statement Piece
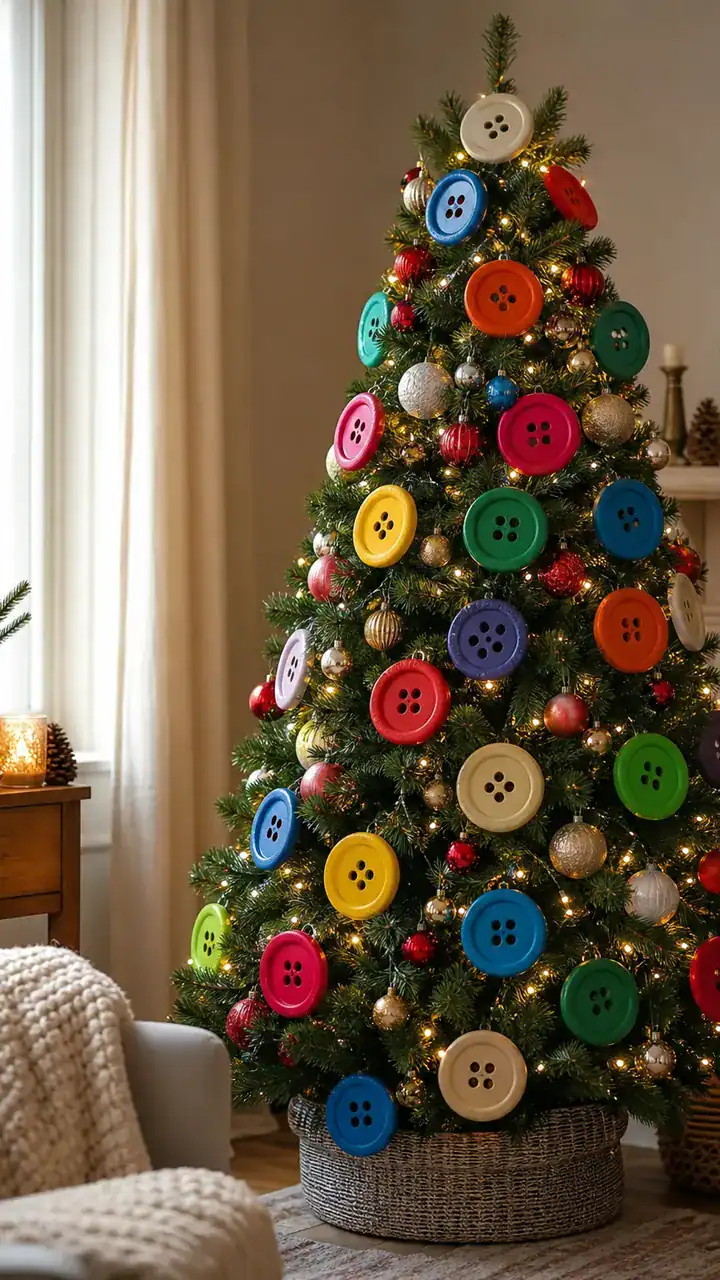
Oversized buttons make a tree that feels silly in the best way, like it is wearing a chunky sweater.
Here’s A Quick Way: Use 5 to 7 big buttons only, then put it on a small dish so it looks like it belongs there on purpose.
11. A Tree With Gold And Champagne Buttons For A Dressy Party Look
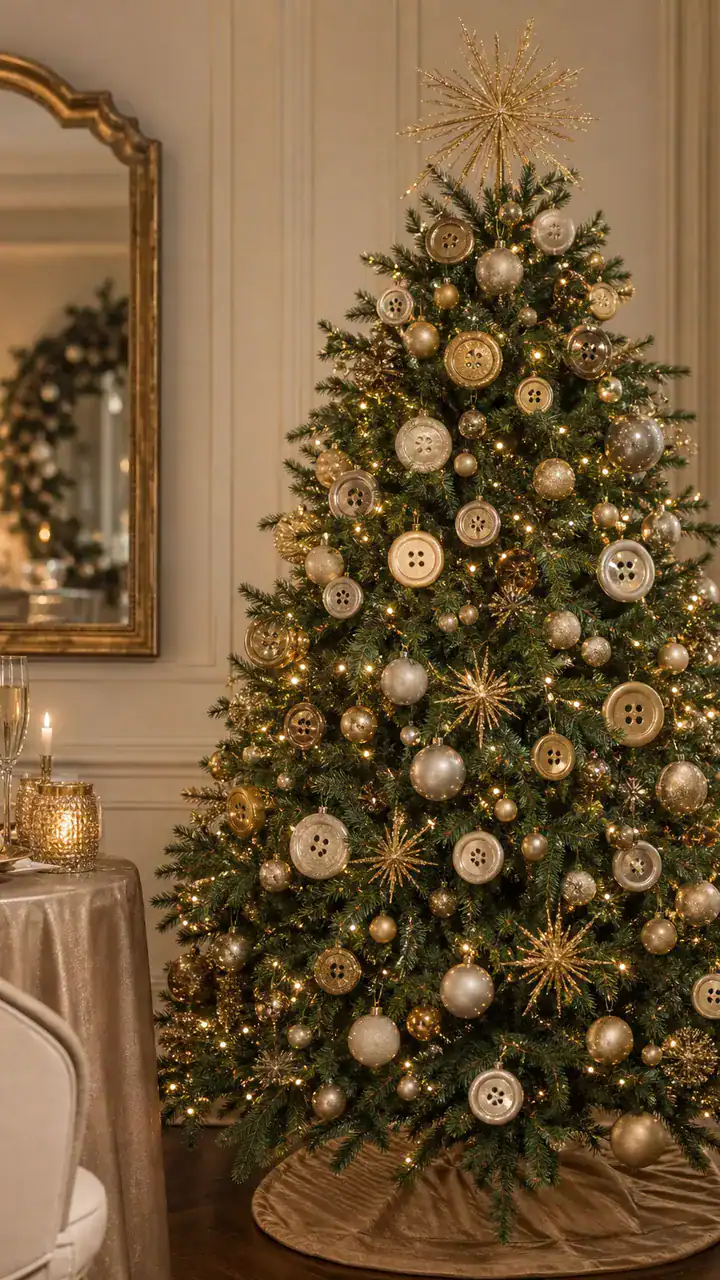
Gold and champagne buttons look like holiday earrings, and they glow more when the tree is near a lamp or candles.
One Thing That Helps Is: Place the tree right next to warm light, then add one clear button near the top so it catches sparkle.
12. A Tree With Silver And Gray Buttons For A Cool Icy Vibe
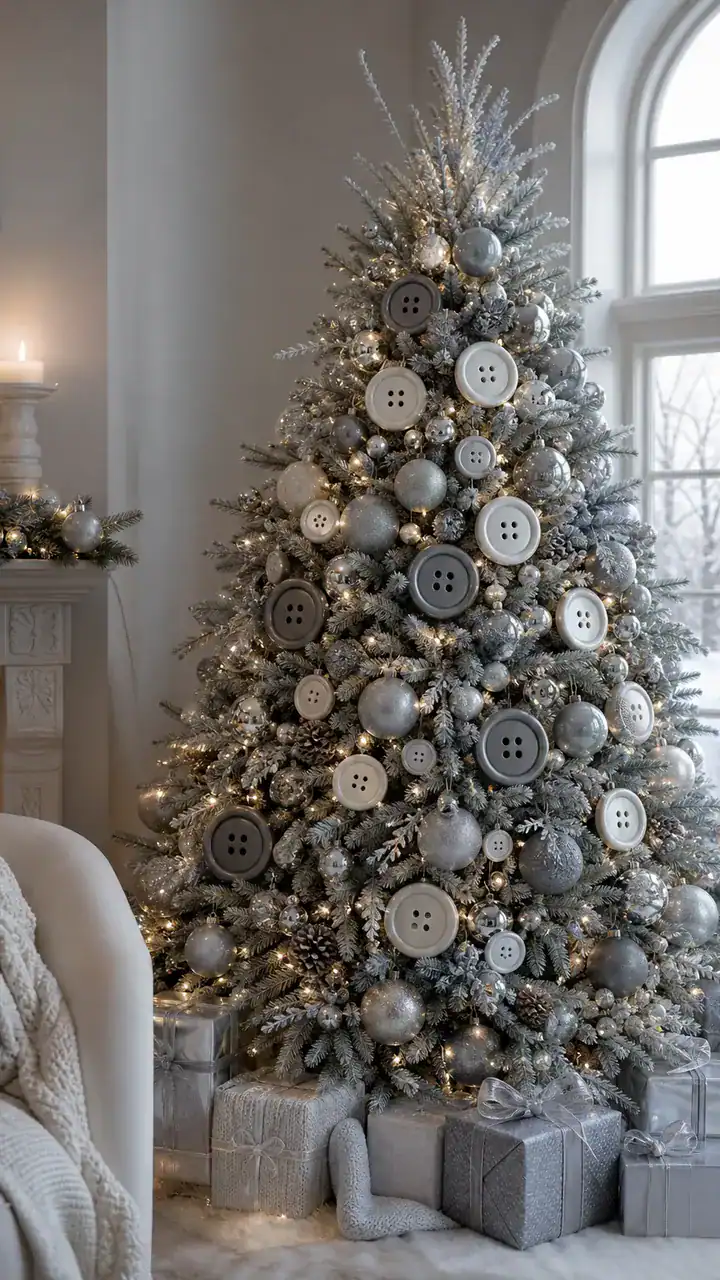
Silver and gray feels crisp and icy, and adding 1 dark gray button near the base makes the whole stack look deeper.
Here’s A Low-Stress Way: Stack mostly silver buttons, then add one dark gray at the bottom and one medium gray in the middle.
13. A Tree With Rainbow Buttons That Feels Like Pure Happy Chaos
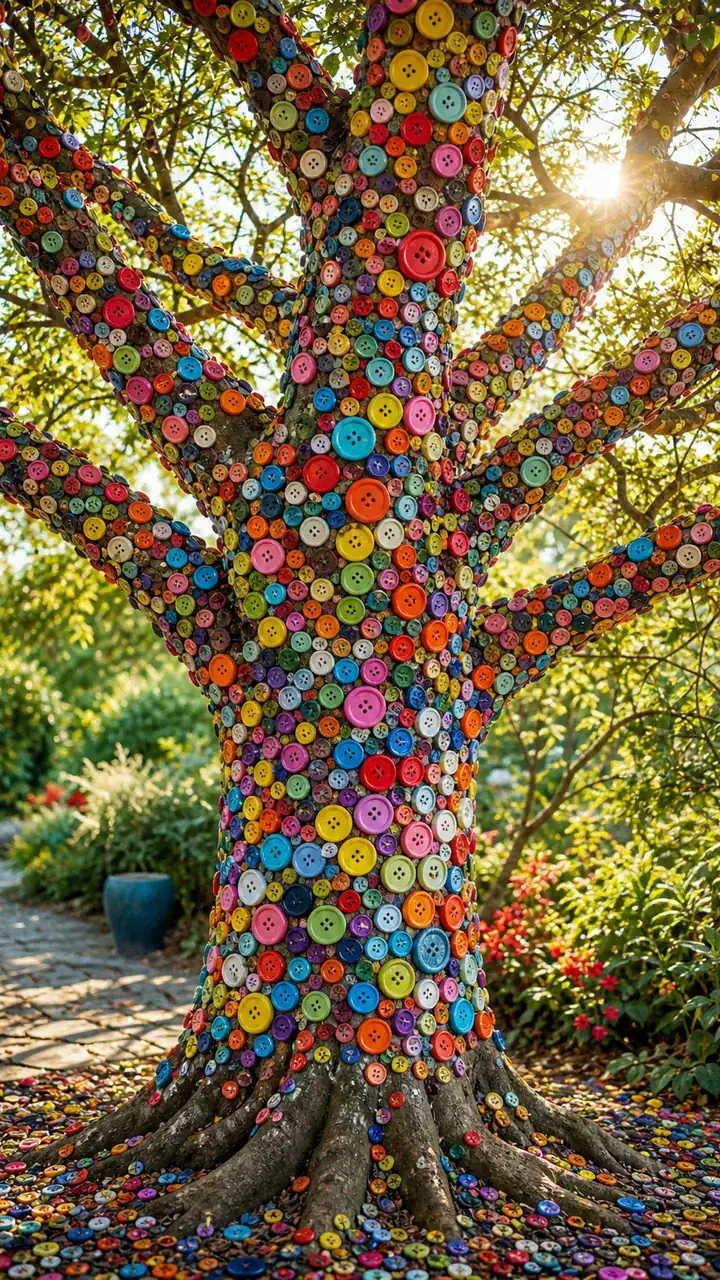
Rainbow buttons are pure joy, and the trick is repeating at least one color so it looks fun, not random.
The Less Stressful Way Is: Pick 6 colors and repeat them twice as you stack so your eye sees a pattern.
14. A Tree With Buffalo Plaid Buttons For A Rustic Christmas Corner
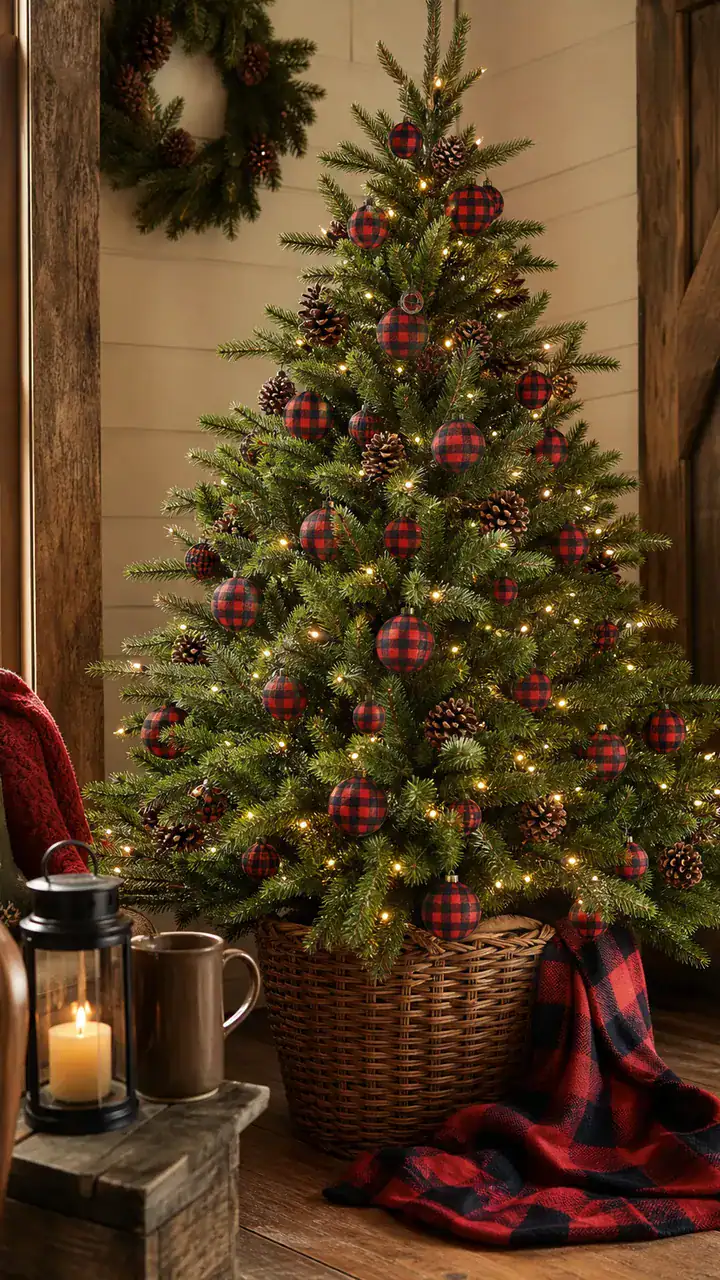
Buffalo plaid buttons look cozy and rustic, and they play nice with greenery and wood frames.
If You Want To Keep It Easy: Stack mostly black and red buttons, then add one white button every 4 buttons to mimic plaid contrast.
15. A Tree With Peppermint Buttons In Red White Swirls
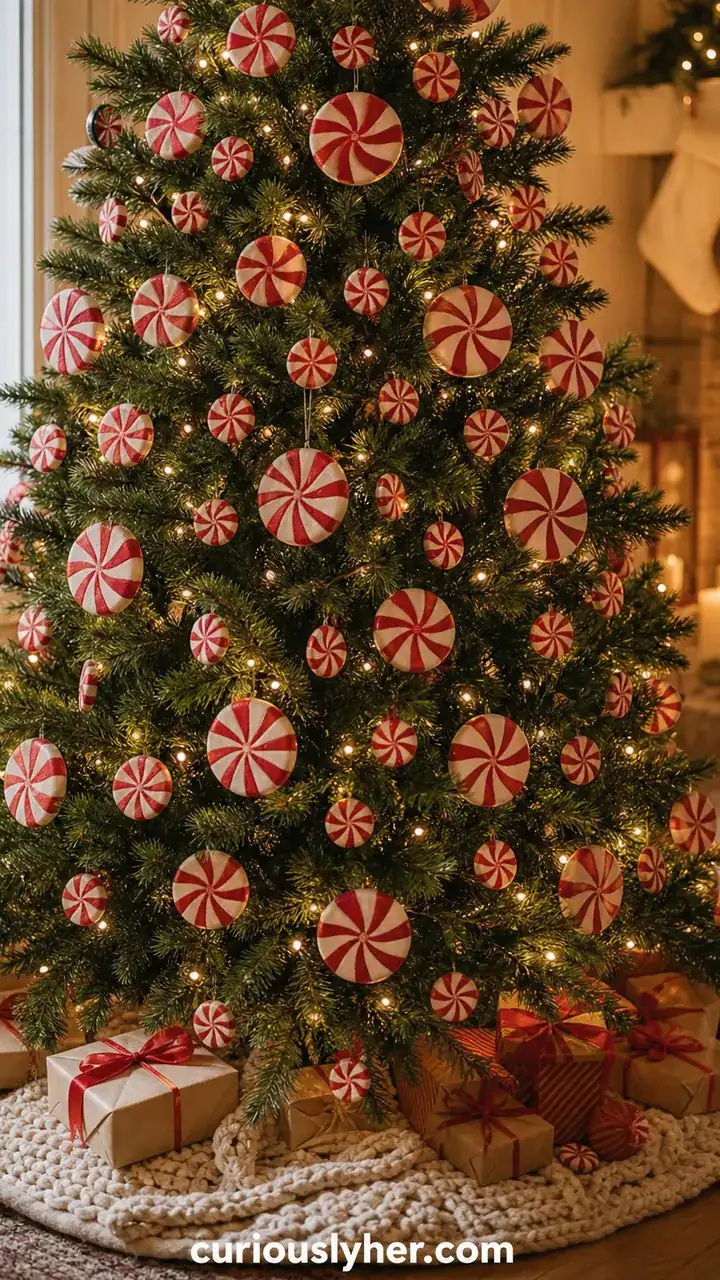
Peppermint buttons look like candy, and they stand out more if the base is plain instead of busy.
Start By Doing This Instead: Set the tree on a plain white coaster, then stack red and white swirl buttons so the swirls face forward.
16. A Tree With Green Buttons Only In Ten Different Shades
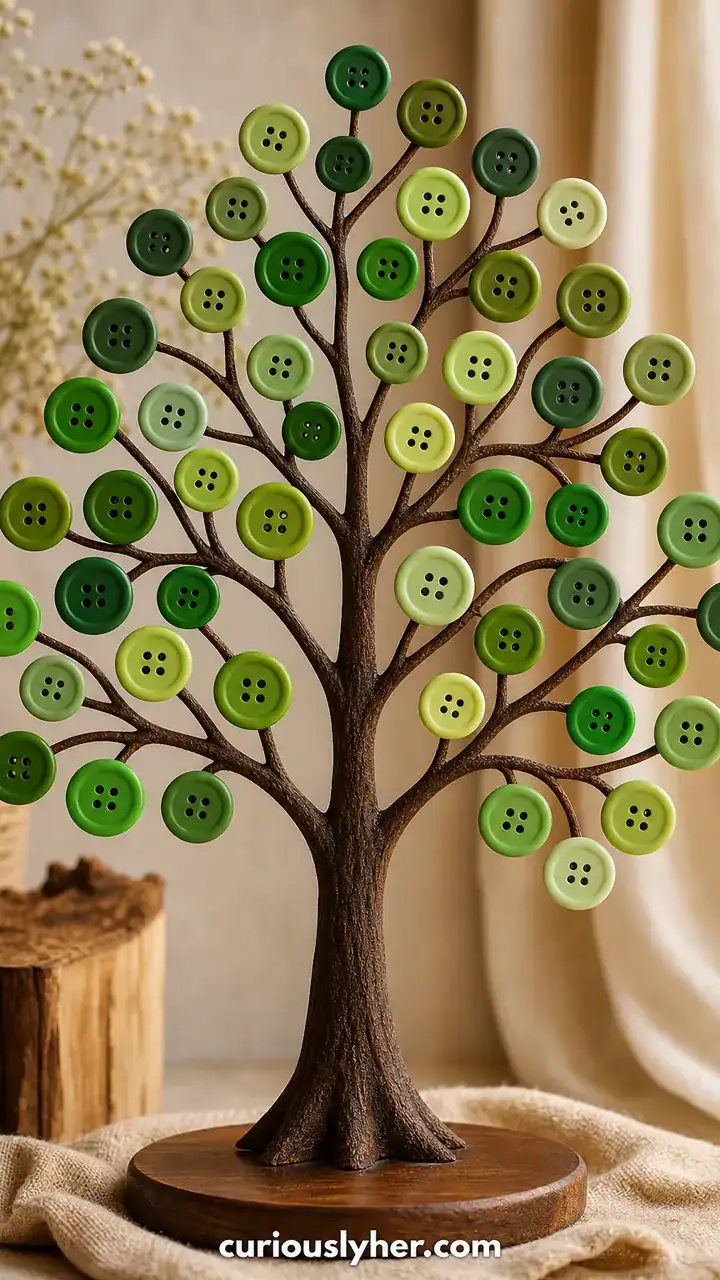
All green looks rich and “designer” fast, and the easiest way is to go dark at the bottom and lighter at the top.
Instead, Try This: Line up 10 green shades from darkest to lightest, then stack in that same order for an instant ombré.
17. A Tree With White Buttons Only For A Snowy Minimal Look
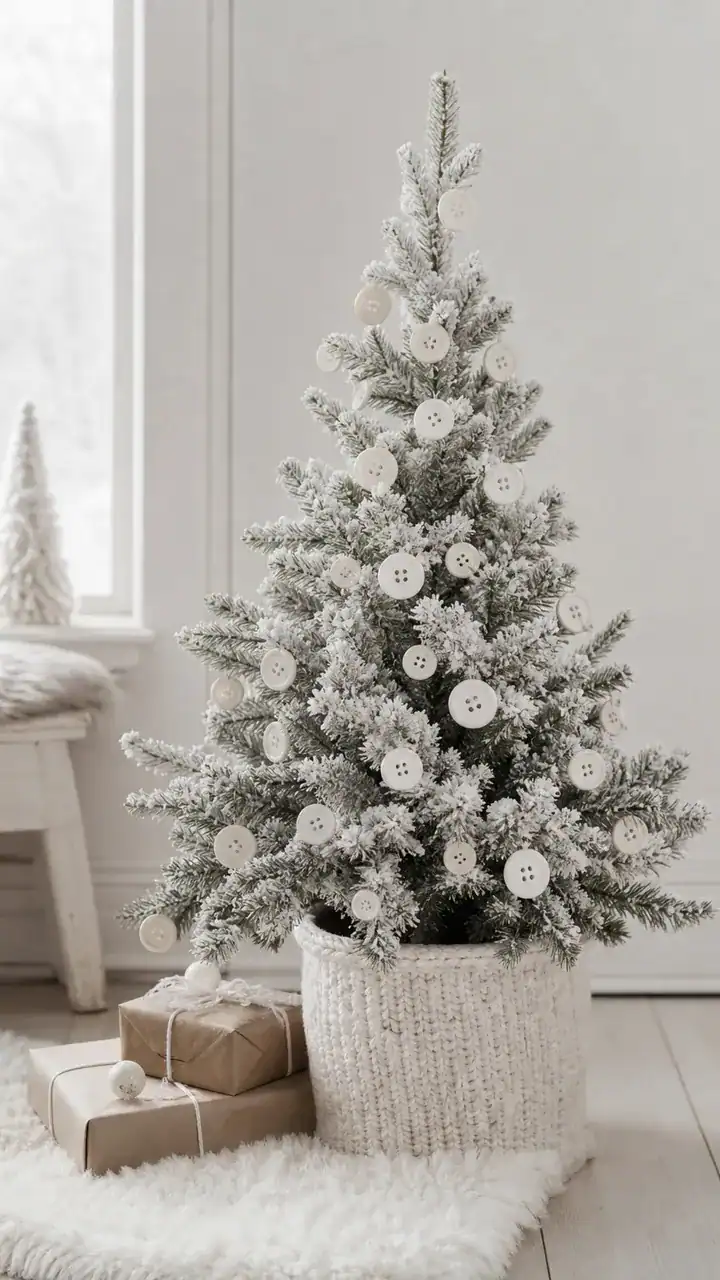
All white can look dreamy and clean, and mixing shiny and matte whites keeps it from looking like a blank blob.
The Easy First Step Is: Grab white buttons in 3 finishes, like glossy, matte, and pearly, and rotate them as you stack.
18. A Tree With Vintage Buttons That Feels Like Grandma’s Sewing Box
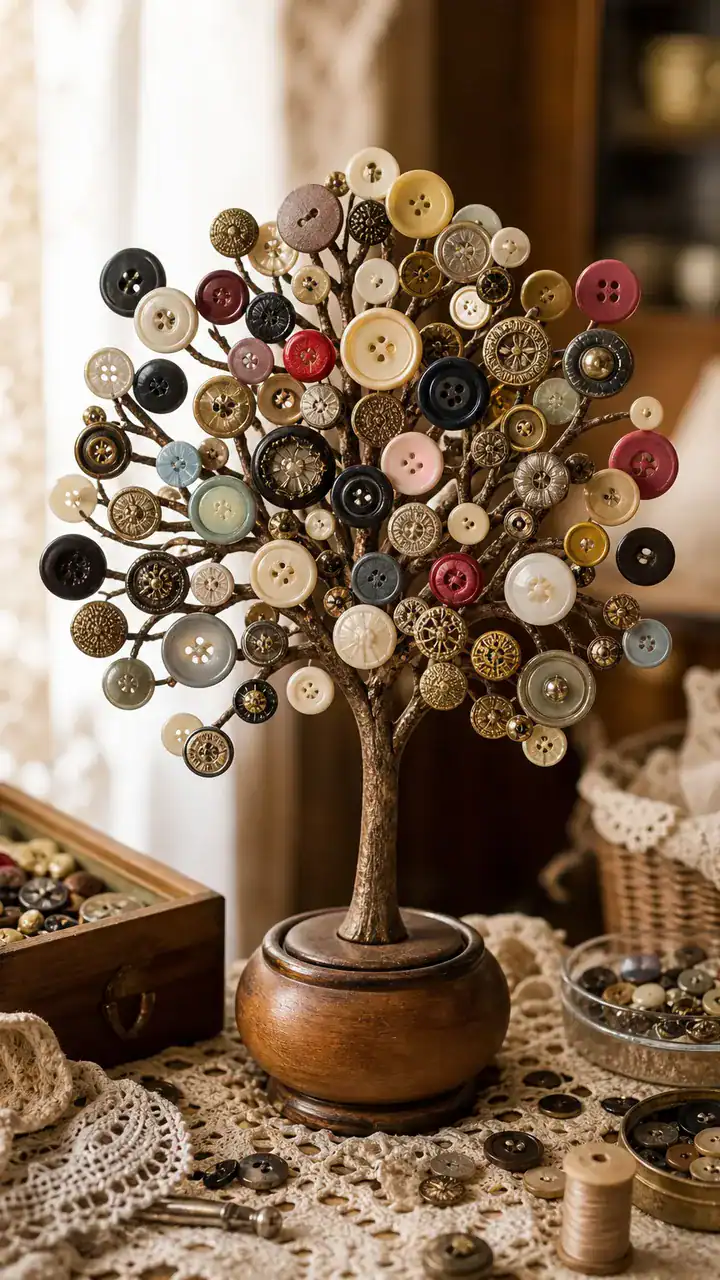
Vintage buttons feel warm and sweet, and the tiny scuffs and weird shapes are what make it charming.
If You’re Not Sure Where To Start: Dump your button jar out, pick 12 that make you smile, and stack them without overthinking the order.
19. A Tree With Bright Primary Buttons For A Kid-Happy Playroom Shelf
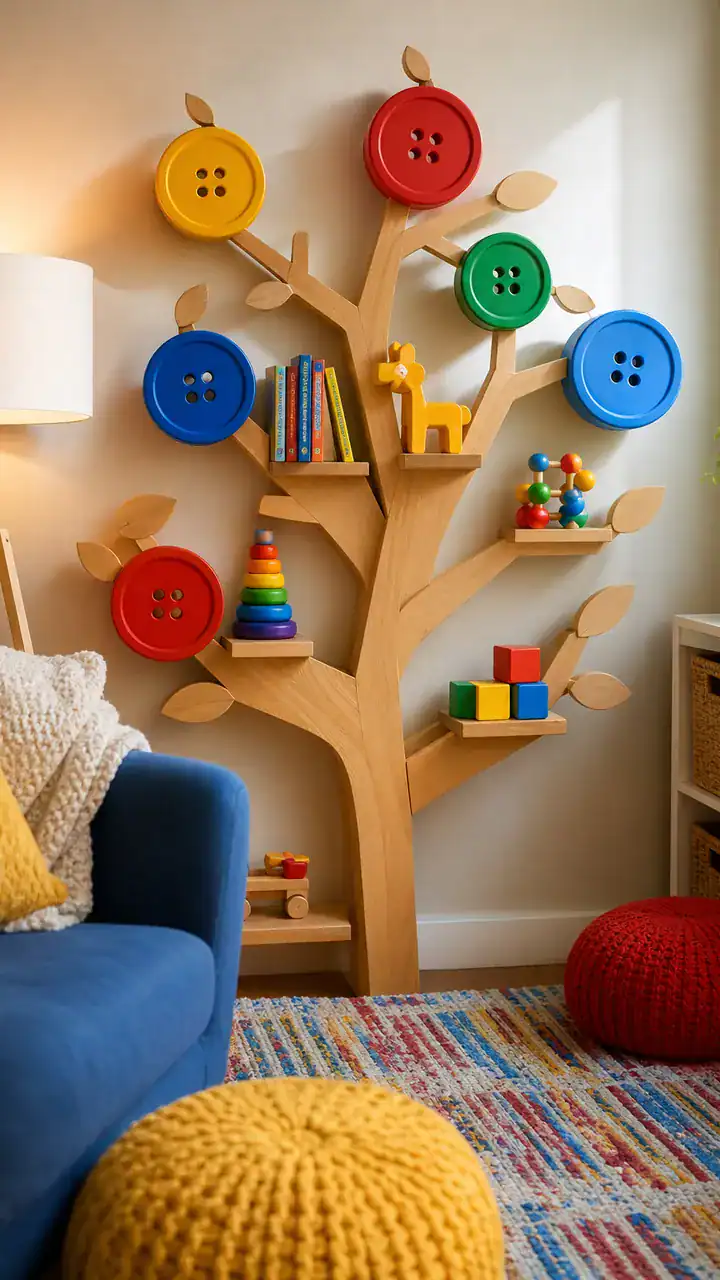
Primary colors look playful, and they match toys so well that the shelf looks styled even if the room is chaos.
Here’s The Shortcut Version: Use only red, blue, and yellow buttons, then repeat the pattern red, blue, yellow all the way up.
20. A Tree With Tiny Pearl Buttons And A Satin Bow At The Top
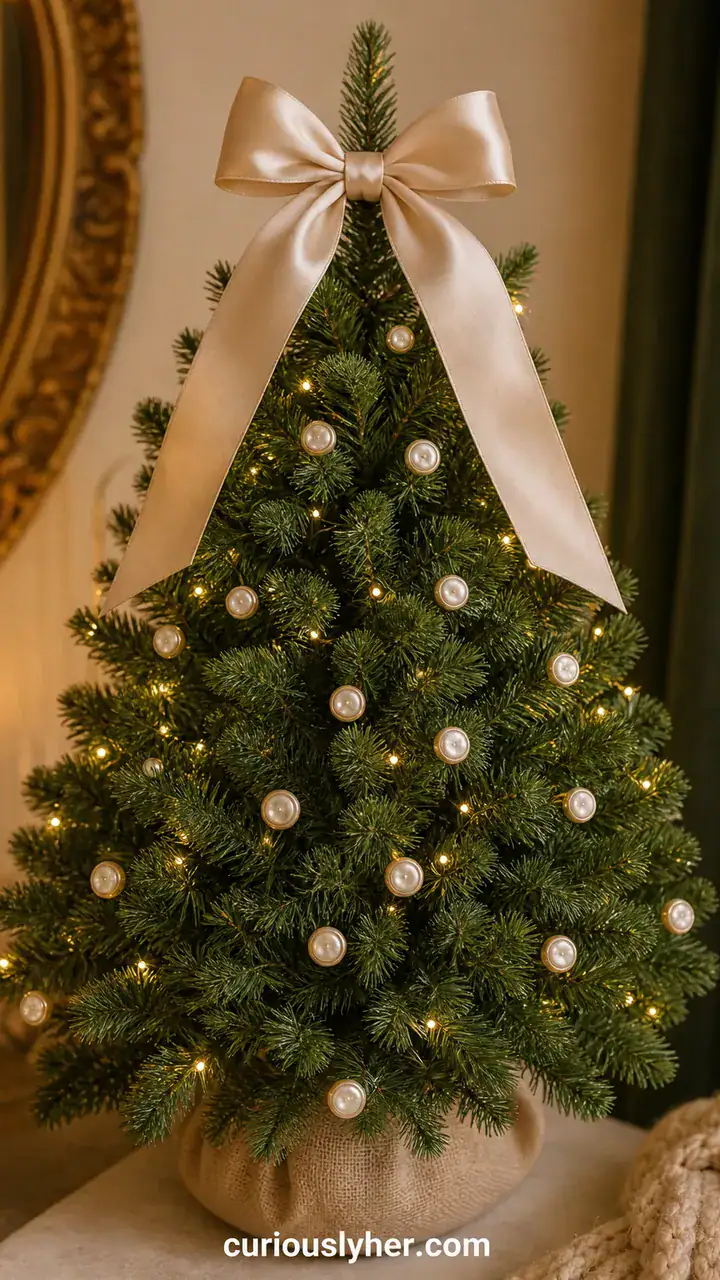
Pearl buttons make a tree look like a little fancy accessory, and a satin bow gives it that gift-like finish.
To Make This Feel More Doable: Tie a tiny bow first, then glue it right under the top button so it stays centered.
21. A Tree With Felt Buttons For A Soft Cozy Sweater Feel
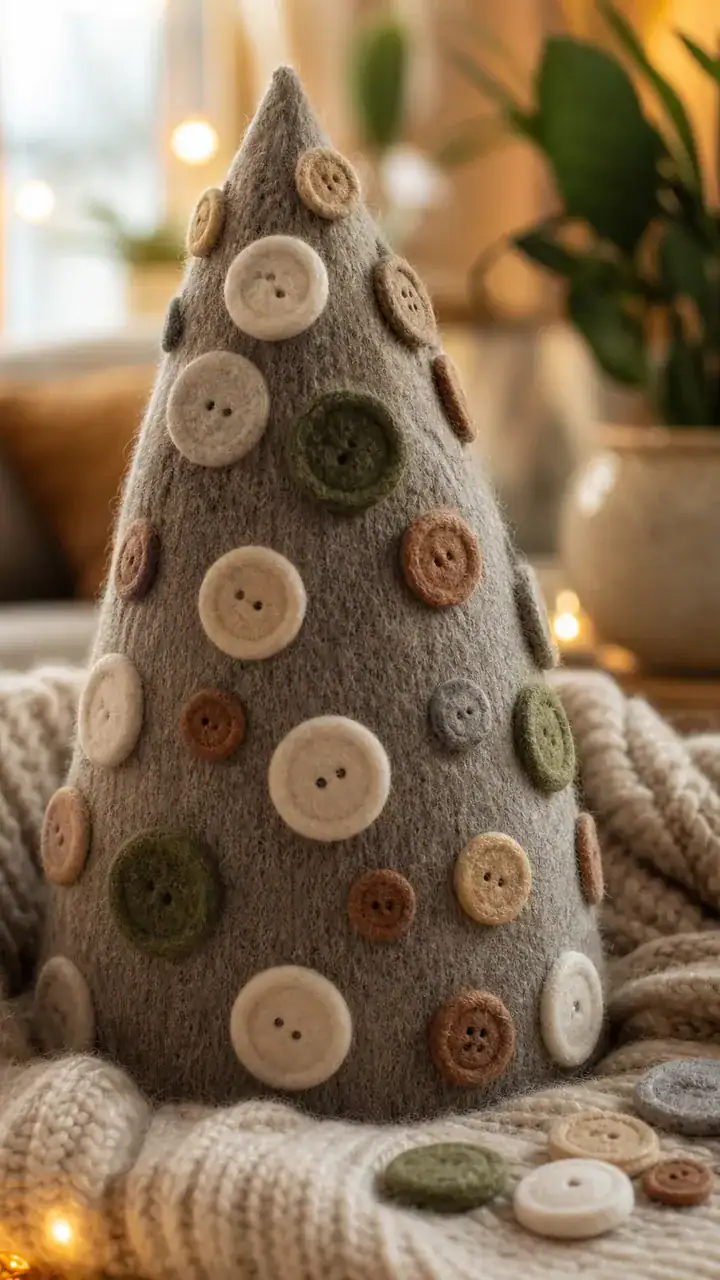
Felt buttons look soft and warm, and they hide glue mess better than shiny buttons, which is honestly a gift.
The Easier Approach Is: Use tacky glue and press each felt button for 5 seconds before adding the next one.
22. A Tree With Clear Blue Buttons Like Frozen Lake Glass
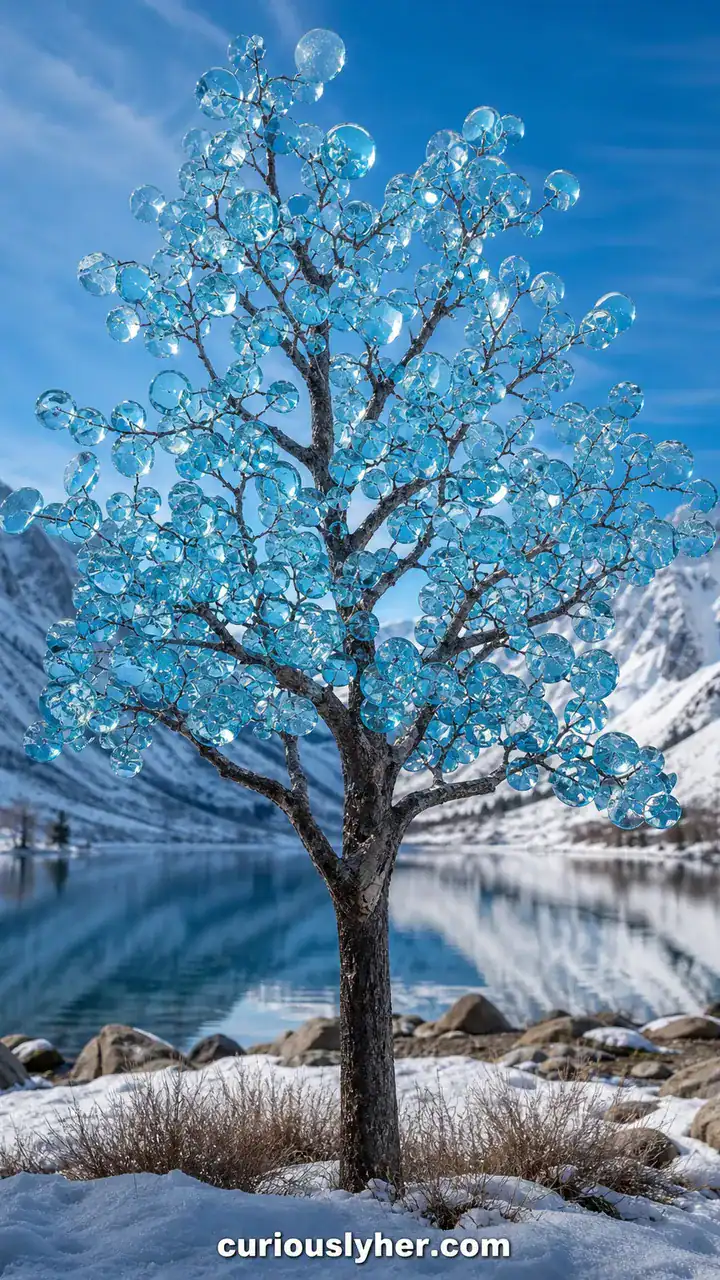
Clear blue buttons look like lake ice, and the color looks deeper if you add 1 dark blue button near the center.
To Avoid Feeling Overwhelmed: Stack mostly clear light blue, then place one dark blue button in the middle like a little “deep water” moment.
23. A Tree With Mismatched Buttons And One Big “Oddball” Center Button
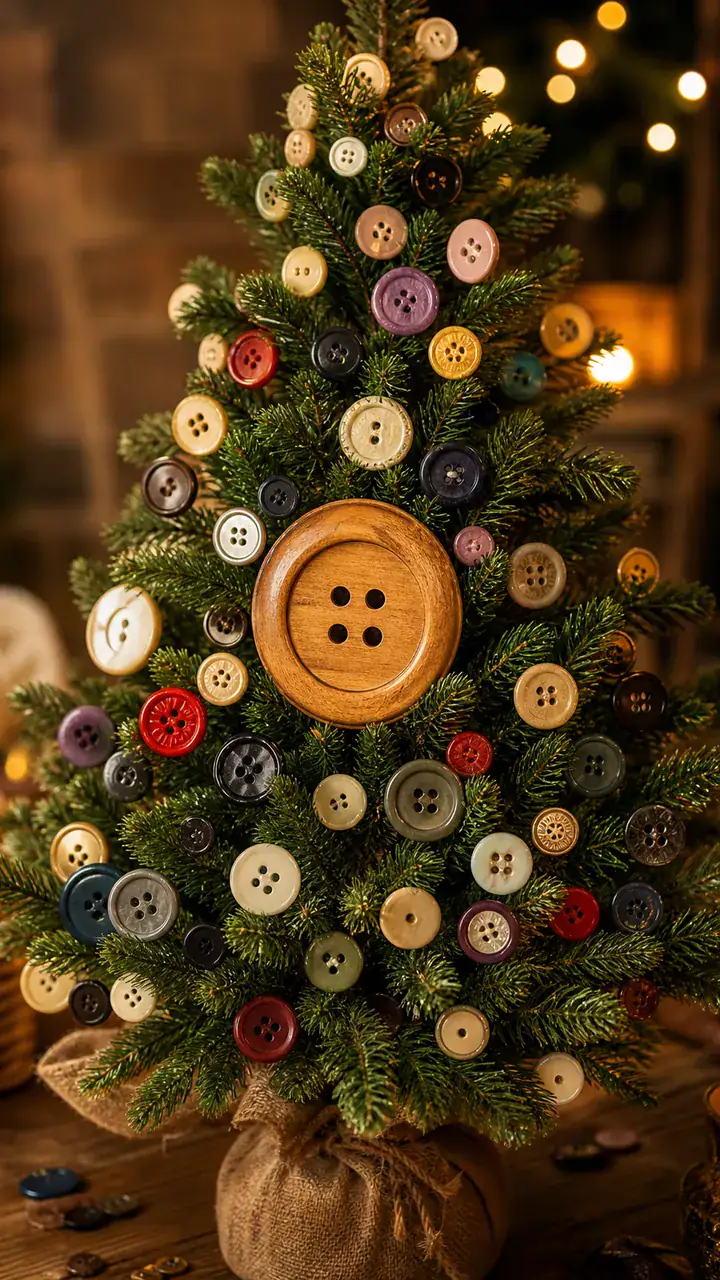
Mismatched buttons feel artsy, and one big center button makes it look intentional, like the tree has a focal point.
Here’s A Gentle Way To Start: Pick one large weird button for the middle, then stack smaller mixed buttons above and below it.
24. A Tree With Star Buttons Mixed In Like Little Surprise Ornaments
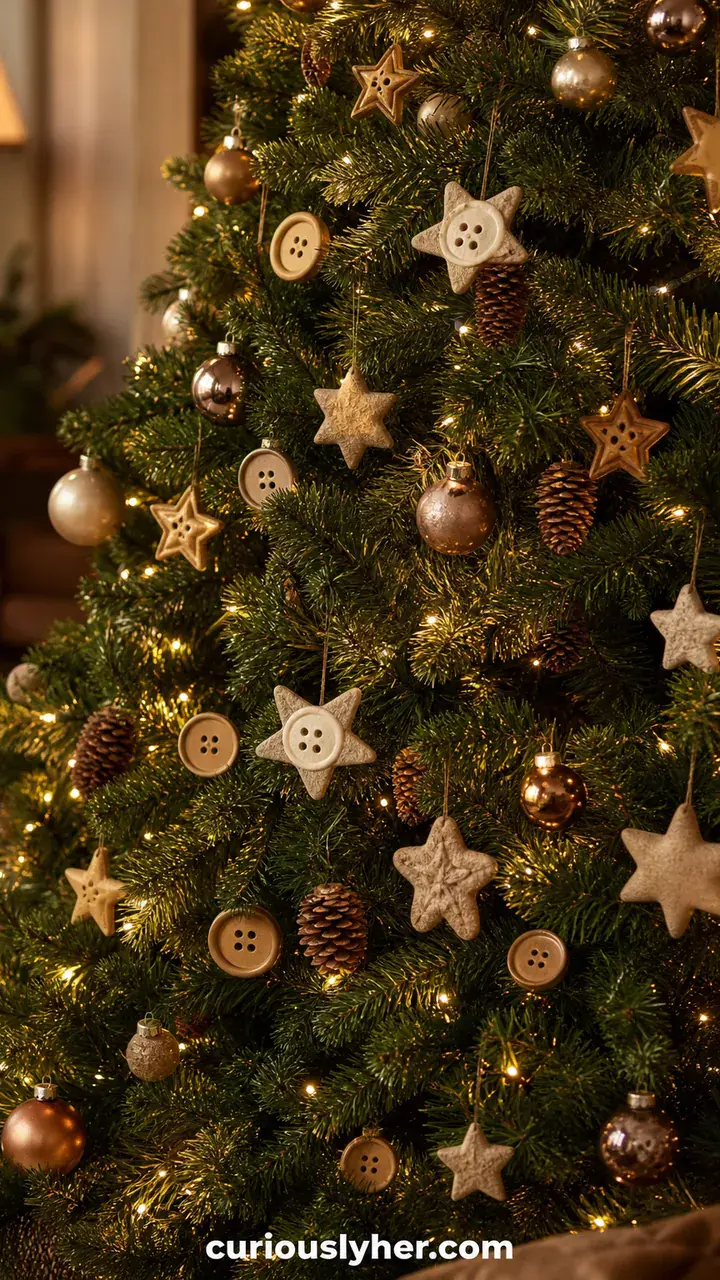
Star buttons look like tiny ornaments, and they pop more when you only use a few so they feel like surprises.
The Most Doable Way Is: Add one star button every 4 buttons as you stack so the stars feel sprinkled in.
25. A Tree With Metallic Buttons Only For A Shiny Glam Look
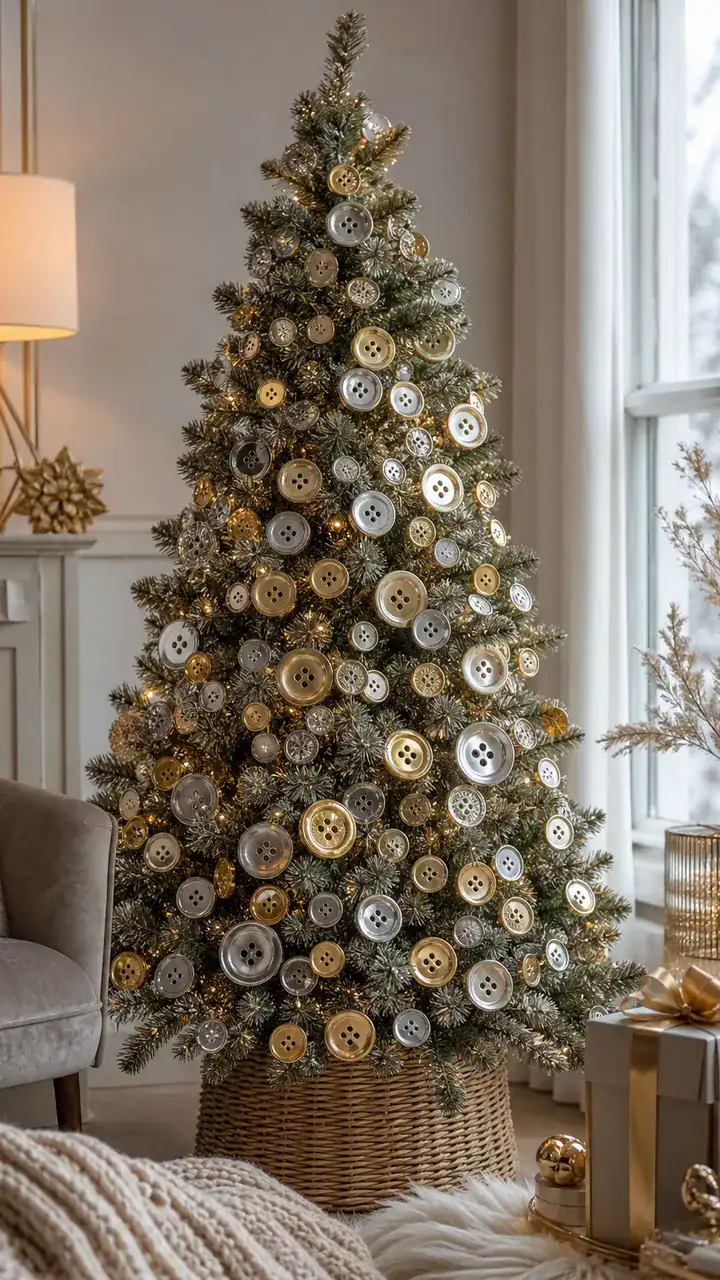
All metallic is glam and bright, and mixing gold, silver, and bronze keeps it from looking like one flat color.
Here’s A Small Step That Helps: Alternate metals as you stack, then put one extra shiny button right on top like a little spotlight.
26. A Tree With Red Buttons And Jingle Bells For A Noisy Cute Twist
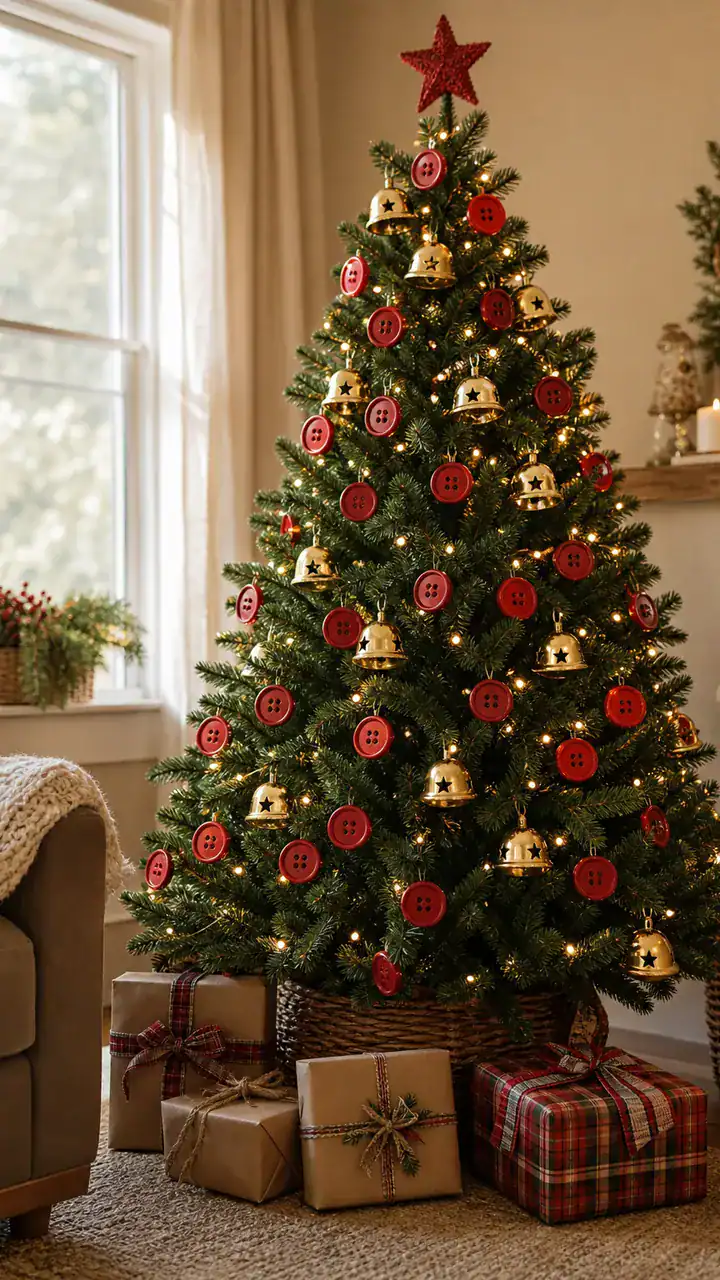
Jingle bells make the tree feel playful, and the sound is cutest when the bells are near the bottom where hands bump it.
Here’s A Simpler First Move: Thread 2 small jingle bells between the bottom 3 buttons so they hang just a little and actually jingle.
27. A Tree With Green Buttons And A Mini Pinecone Topper
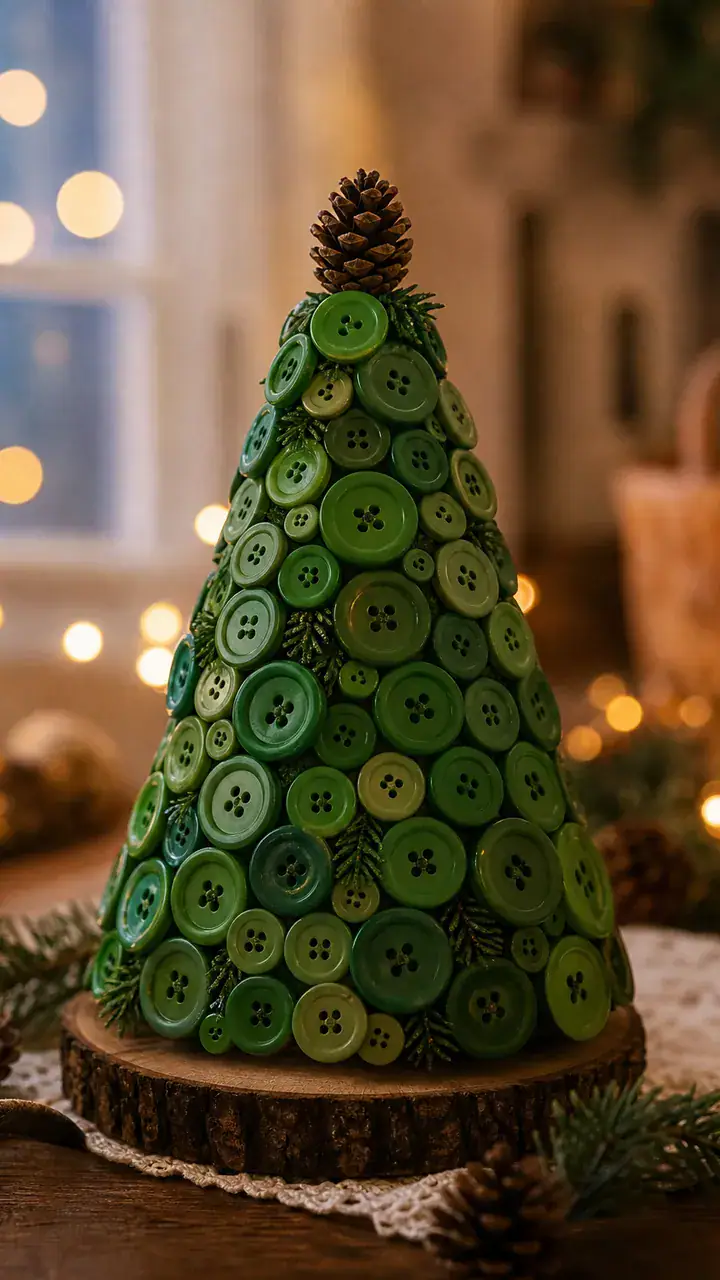
A mini pinecone topper makes the button tree feel outdoorsy and real, like it belongs next to a candle and a mug of something warm.
The Easy Starting Point Is: Glue a tiny pinecone on top of the stack, then add a dot of glue at the base so the tree stands straight.
???? SAVE FOR LATER! ????
Most Recommended